The short answer is yes, you can paint laminate flooring. However, the more crucial question is: should you? Laminate flooring is a delicate surface made of paper layers covered by a hard, slick melamine or aluminum oxide wear layer. Painting this surface requires specific preparation and products to ensure the paint adheres and survives foot traffic. This guide outlines the proper steps, sets realistic expectations, and suggests superior alternatives.
When Painting Laminate Makes Sense
Painting laminate is not a permanent solution, but it can be a highly effective temporary refresh.
Budget Refresh vs. Full Replacement
Painting is an excellent choice when:
- Temporary Solution: You need a budget-friendly change to refresh a room or home before selling, and a full, costly replacement isn’t feasible right now.
- Low-Traffic Area: The floor is in a low-use area, such as a guest bedroom, closet, or pantry, where durability is less critical.
- Aesthetic Change: The existing laminate color is outdated or highly offensive, and you just need a change in tone (e.g., from orange oak to a muted gray).
Expectations for Durability and Maintenance
It is critical to set realistic expectations for a painted floor:
- Durability: Even with the best preparation and topcoats, a painted laminate floor will not match the durability of a factory-finished wear layer. It will be prone to chipping, scratching, and wear, especially in high-traffic areas.
- Maintenance: Expect to perform touch-ups regularly, possibly once or twice a year, particularly near doorways and heavy furniture.
- Water Sensitivity: Laminate is highly sensitive to water. While painting the surface may offer slight protection, it does not stop water from entering the seams and causing the particleboard core to swell.
Surface Prep Is Everything
The slick, non-porous nature of the laminate wear layer is the main challenge. Without proper preparation, the paint will simply peel off in sheets. This step cannot be skipped or rushed.
Degrease, Degloss, and Scuff Sand
- Deep Clean and Degrease: Use a solution of trisodium phosphate (TSP) or a specialized heavy-duty floor cleaner to thoroughly remove all traces of dirt, wax, oils, and floor polish residue. Rinse the floor completely with clean water and allow it to dry fully.
- Deglossing (Liquid Sandpaper): Use a liquid deglosser chemical product. This etches the surface microscopically, improving the primer’s mechanical bond without the risk of water damage associated with heavy sanding.
- Light Scuff Sanding: Using $180 \text{ to } 220$-grit sandpaper, lightly scuff the entire surface. This is not for removal, but only to create a tooth for the primer to grip. Use a HEPA vacuum to remove all dust, as any remaining dust will prevent adhesion.
Bonding Primer for Slick Melamine Wear Layers
A standard paint primer will fail. You must use a specialized bonding primer designed for difficult, slick surfaces like laminate, melamine, or ceramic tile.
- Oil-Based or Shellac-Based Primers (Recommended): Products like B-I-N Shellac Primer or high-adhesion oil-based bonding primers offer superior adhesion. These often have strong fumes, requiring maximum ventilation.
- Application: Apply the primer in thin, even coats, following the manufacturer’s directions exactly regarding drying and cure times. This primer layer determines the success of the entire project.
Paint & Topcoat Systems
Selecting the right paint and protective topcoat is vital for achieving floor-level durability.
Floor-Rated Acrylic/Alkyd or Epoxy Paints
- Acrylic/Alkyd Blend: A high-quality porch and floor enamel (often an acrylic/alkyd hybrid) is the minimum standard. These paints are engineered to withstand abrasion and frequent washing.
- Epoxy Systems: For maximum durability in areas like laundry rooms or bathrooms, consider a garage floor epoxy kit or a dedicated floor epoxy paint. Epoxy provides a much harder, more resilient surface than standard paint.
Non-Yellowing Polyurethane/Waterborne Topcoats
The protective topcoat carries the bulk of the wear and tear.
- Waterborne Polyurethane: Choose a waterborne, floor-grade polyurethane (satin or semi-gloss finish) designed for wood floors. This provides an extremely hard, clear barrier that resists scratches and wear.
- Avoid Oil-Based Polyurethane: Oil-based polyurethane tends to yellow over time, which can ruin the color of the paint underneath.
- Multiple Coats: Apply at least three to four thin coats of topcoat, allowing each coat to cure fully between applications. The thicker the protective shield, the better the floor will hold up.
Application Tips
Precision during application and patience during curing will dramatically improve the final look and longevity.
Light Coats, Proper Cure Times, Avoid Heavy Furniture Early
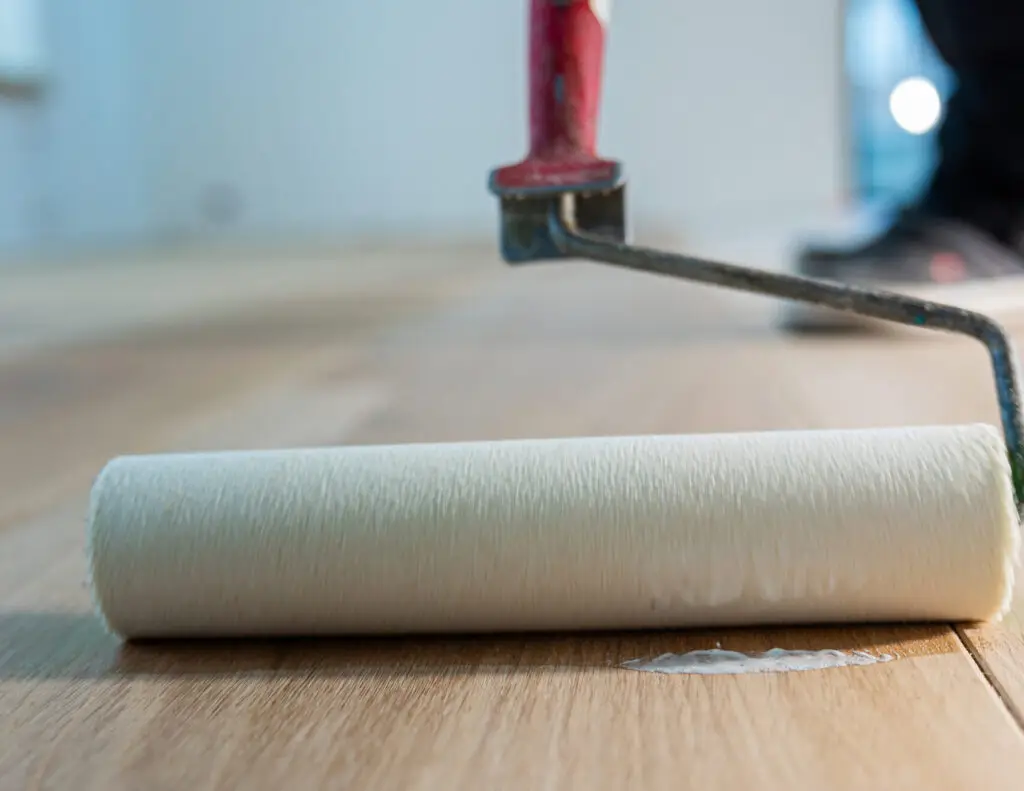
- Light Coats: Apply both primer and paint in thin coats using a high-quality roller. Thick coats are prone to peeling and will take significantly longer to cure.
- Proper Cure Times: Drying time (when the surface is dry to the touch) is different from cure time (when the paint has reached maximum hardness). Floor paints and polyurethanes can take anywhere from 7 to 30 days to fully cure. Avoid placing heavy furniture, dragging objects, or heavy foot traffic on the floor during the cure period.
- Taping: Remove painter’s tape immediately after applying the topcoat to ensure a crisp, clean line without peeling the finish.
Add Anti-Slip Additive in Traffic Zones
Painted floors, especially with a semi-gloss polyurethane topcoat, can be very slick, particularly when wet.
- Grip Additive: Mix a clear, fine-grit anti-slip additive (often sold as a “shark grip” or similar product) into the final coat of polyurethane. This adds a slight texture that drastically improves traction in heavy traffic areas like hallways or kitchens.
Alternatives With Better Longevity
If durability is your main concern, replacing the laminate is always the best solution.
New LVP/LVT Click-Lock, Engineered Wood Reflooring
- Luxury Vinyl Plank (LVP) / Luxury Vinyl Tile (LVT): The single best replacement for old laminate. Modern click-lock LVP is 100% waterproof, incredibly durable, scratch-resistant, and can be easily installed directly over most existing laminate (if level) or subfloors.
- Engineered Wood: A significant upgrade. Engineered wood offers the look and feel of solid hardwood but is more dimensionally stable, making it a great choice for kitchens and living areas.
- Ceramic/Porcelain Tile: The most durable and water-resistant option, though requiring more prep and effort for installation.
FAQs
Will paint peel under chairs?
Yes, this is the most common failure point. Rolling office chairs or chairs that are frequently pushed back and forth exert high amounts of localized pressure and scraping action. To protect these areas, you must use floor mats or rugs under rolling chairs, and apply felt pads to the feet of dining chairs. Even a fully-cured topcoat will eventually fail under this stress.
Can I paint only high-traffic paths?
You can, but it is not recommended. Painting only pathways creates two distinct surfaces with different textures and wear rates, resulting in an uneven and visually disjointed finish. If you are going to paint, the best approach is to paint the entire room and then immediately cover the high-traffic areas with durable area rugs to protect the finish.
If the idea of prep, priming, painting, and poly-coating seems overwhelming—or if you simply want a floor that will last for decades—it might be time to skip the paint and move straight to a professional replacement.
Contact Santos Brothers Flooring today for a free consultation on our wide selection of LVP and engineered wood flooring that provides superior durability and a beautiful, permanent finish.