
Installing a radiant floor heating system is a high-reward home improvement project, but it requires surgical precision. While many DIY kits exist, professional installers follow a strict protocol to ensure the system doesn’t fail once it is buried under layers of thinset and stone.
Quick Answer: Installation Depends on Floor Type + System
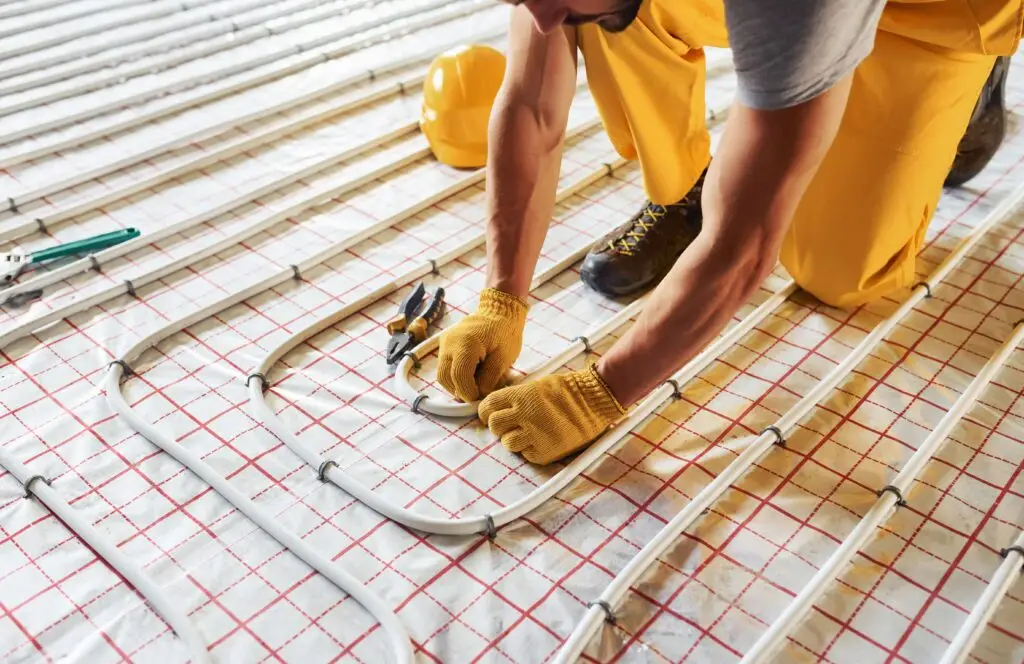
The installation method is dictated by your choice between electric heating mats (pre-spaced wire on mesh) and loose cables (snapped into a plastic peg membrane). While mats are faster to lay down, membranes with loose cables offer superior crack isolation for tile and more flexible layout options for irregular room shapes.
Before You Start: Planning & Safety
Layout Planning and Heat Zones
Pros never “wing it” on the job site. A scaled floor plan is drawn to identify:
- Fixtures: You cannot install heating elements under permanent fixtures like vanities, toilets, or kitchen islands, as this causes “heat trapping” which can burn out the cable.
- Buffer Zones: A 3-to-6-inch gap is typically maintained between the heating wire and the walls or baseboards.
- Cold Leads: The “cold lead” is the unheated wire that connects the floor system to the thermostat. Planning its path through the wall plate is the first step of any layout.
Electrical Requirements and Code Considerations
In the United States, the National Electrical Code (NEC) governs these installations.
- Dedicated Circuit: Most radiant systems require a dedicated 15 or 20-amp circuit.
- GFCI Protection: The system must be protected by a Ground Fault Circuit Interrupter. Most modern radiant thermostats have this built-in.
- Licensed Electrician: While a flooring professional can lay the mat, a licensed electrician must perform the final hookup to the home’s electrical panel to ensure the warranty remains valid and the home remains safe.
Subfloor Prep: The Step That Determines Longevity
If the subfloor isn’t perfect, the heating system—and your expensive new tile—will eventually crack.
- Flatness and Cleanliness: The subfloor must be “level to the eye and flat to the tool.” Any bumps or debris can create “hot spots” where the wire is pinched.
- Moisture Barrier & Primer: For concrete slabs, a liquid-applied moisture barrier is often used. For wood subfloors, a specialized primer is applied to ensure the self-leveling compound or thinset bonds permanently.
- Insulation (Thermal Breaks): On concrete slabs, pros often install a layer of cork or synthetic thermal insulation first. Without this, the cold concrete will “suck” the heat downward, making the system take hours to warm up.
Installation Steps: The Professional Workflow
1. Dry Fit and Sensor Placement
Before any adhesive touches the floor, the system is dry-fitted. A crucial step often missed is the floor sensor placement. The sensor (a small bead at the end of a wire) must be centered exactly between two heating cables. If it touches a cable, it will give a false high reading; if it is too far away, the floor will overheat.
2. Embed the System
Pros generally use one of two embedding methods:
- Self-Leveling Underlayment (SLU): This is the preferred “pro” method. A liquid cement is poured over the entire system, creating a perfectly flat, glass-like surface that protects the wires from the notched trowel during tile installation.
- Thinset Method: The system is “buttered” with a modified thinset. This requires extreme care to ensure no air pockets (voids) are left around the wires.
3. Install Finish Flooring and Cure Times
Once the system is embedded, the finish flooring (Tile, Stone, or Engineered Wood) is installed.
- The “Wait” Rule: This is the hardest part for homeowners. You cannot turn the heat on immediately. The thinset and grout must “cure” for 7 to 28 days (depending on the product). Turning it on too early causes the moisture in the mortar to turn to steam, which can “pop” the tiles off the floor.
FAQs
Can I install radiant heat under vinyl plank?
Yes, but you must use a system compatible with LVP. Most pros recommend embedding the heating wires in a minimum of 3/8″ of self-leveling compound to create a smooth, rigid thermal mass that won’t allow the vinyl planks to “telegraph” the wire pattern or overheat.
How long before I can turn it on?
For most standard installations using modified thinset, a minimum of 21 days is recommended. This ensures the mortar has reached full structural strength. Activating the heat too early is the leading cause of “hollow” sounding tiles.
Professional Installation by Santos Brothers Flooring
Don’t risk a “cold” investment. A radiant floor system is only as good as the prep work beneath it. At Santos Brothers Flooring, we combine master-level tile craftsmanship with a deep understanding of radiant technology to ensure your new floor is beautiful, safe, and warm.
Ready to step onto a warm floor every morning? Call Santos Brothers Flooring today for a professional consultation and a detailed estimate!