
A transition strip is a finishing piece that creates a smooth, safe bridge between two different types of flooring. Without it, you’d have an exposed, uneven gap that is not only unsightly but also a tripping hazard. Installing a transition strip correctly is a crucial final step that gives your floors a professional, finished look. This guide walks you through the process, helping you avoid common mistakes.
What is a transition strip and why it’s needed
A transition strip, also known as a threshold or floor reducer, is a small piece of trim that connects two flooring surfaces. It’s used in doorways, between rooms, and anywhere a change in flooring material or height occurs. The main reasons you need a transition strip are to:
- Cover the Expansion Gap: All hard surface flooring, such as hardwood, laminate, or vinyl, needs an expansion gap around the perimeter of the room to allow the material to expand and contract with changes in temperature and humidity. The transition strip covers this gap.
- Prevent Tripping: It levels out uneven floor heights, creating a smooth and safe transition.
- Protect Edges: It protects the exposed edges of your flooring from damage and wear.
- Create a Polished Look: A well-installed transition strip provides a clean and professional finishing touch.
Tools and materials you’ll need
Before you start, gather your materials to ensure the job runs smoothly.
- The Transition Strip: Make sure you have the correct type for your specific flooring.
- Tape Measure: For accurate measurements.
- Pencil: To mark your cuts.
- Miter Saw or Fine-Toothed Hand Saw: For cutting the strip to size.
- Drill (if using screws): For pre-drilling holes.
- Screws or Adhesive: Depending on the installation method.
- Rubber Mallet or Hammer: To tap the strip into place.
- Caulk or Wood Filler: For sealing and finishing.
- Utility Knife: For trimming adhesive if needed.
Step 1 – Measure and cut the transition strip
First, measure the width of the doorway or area you’re covering. Mark this measurement on the transition strip with your pencil. If your strip is being installed in a doorway, you’ll need to cut it to fit precisely between the door jambs. Using a miter saw or a fine-toothed hand saw, make a straight, clean cut at your mark. A clean cut is essential for a seamless finish.
Step 2 – Position and secure the strip properly
How you secure the strip depends on its type.
- For a track-and-snap system: Most modern transition strips come with a metal or plastic track. You’ll install this track first, securing it to the subfloor with screws. Then, you simply align the transition strip over the track and press it down firmly until it “snaps” into place. A rubber mallet can help here.
- For an adhesive system: Apply a high-quality construction adhesive to the back of the transition strip in a zigzag pattern. Press the strip firmly into place, ensuring it is centered over the gap. Apply pressure for a few moments to allow the adhesive to bond. You may need to use painter’s tape to hold it down while it cures.
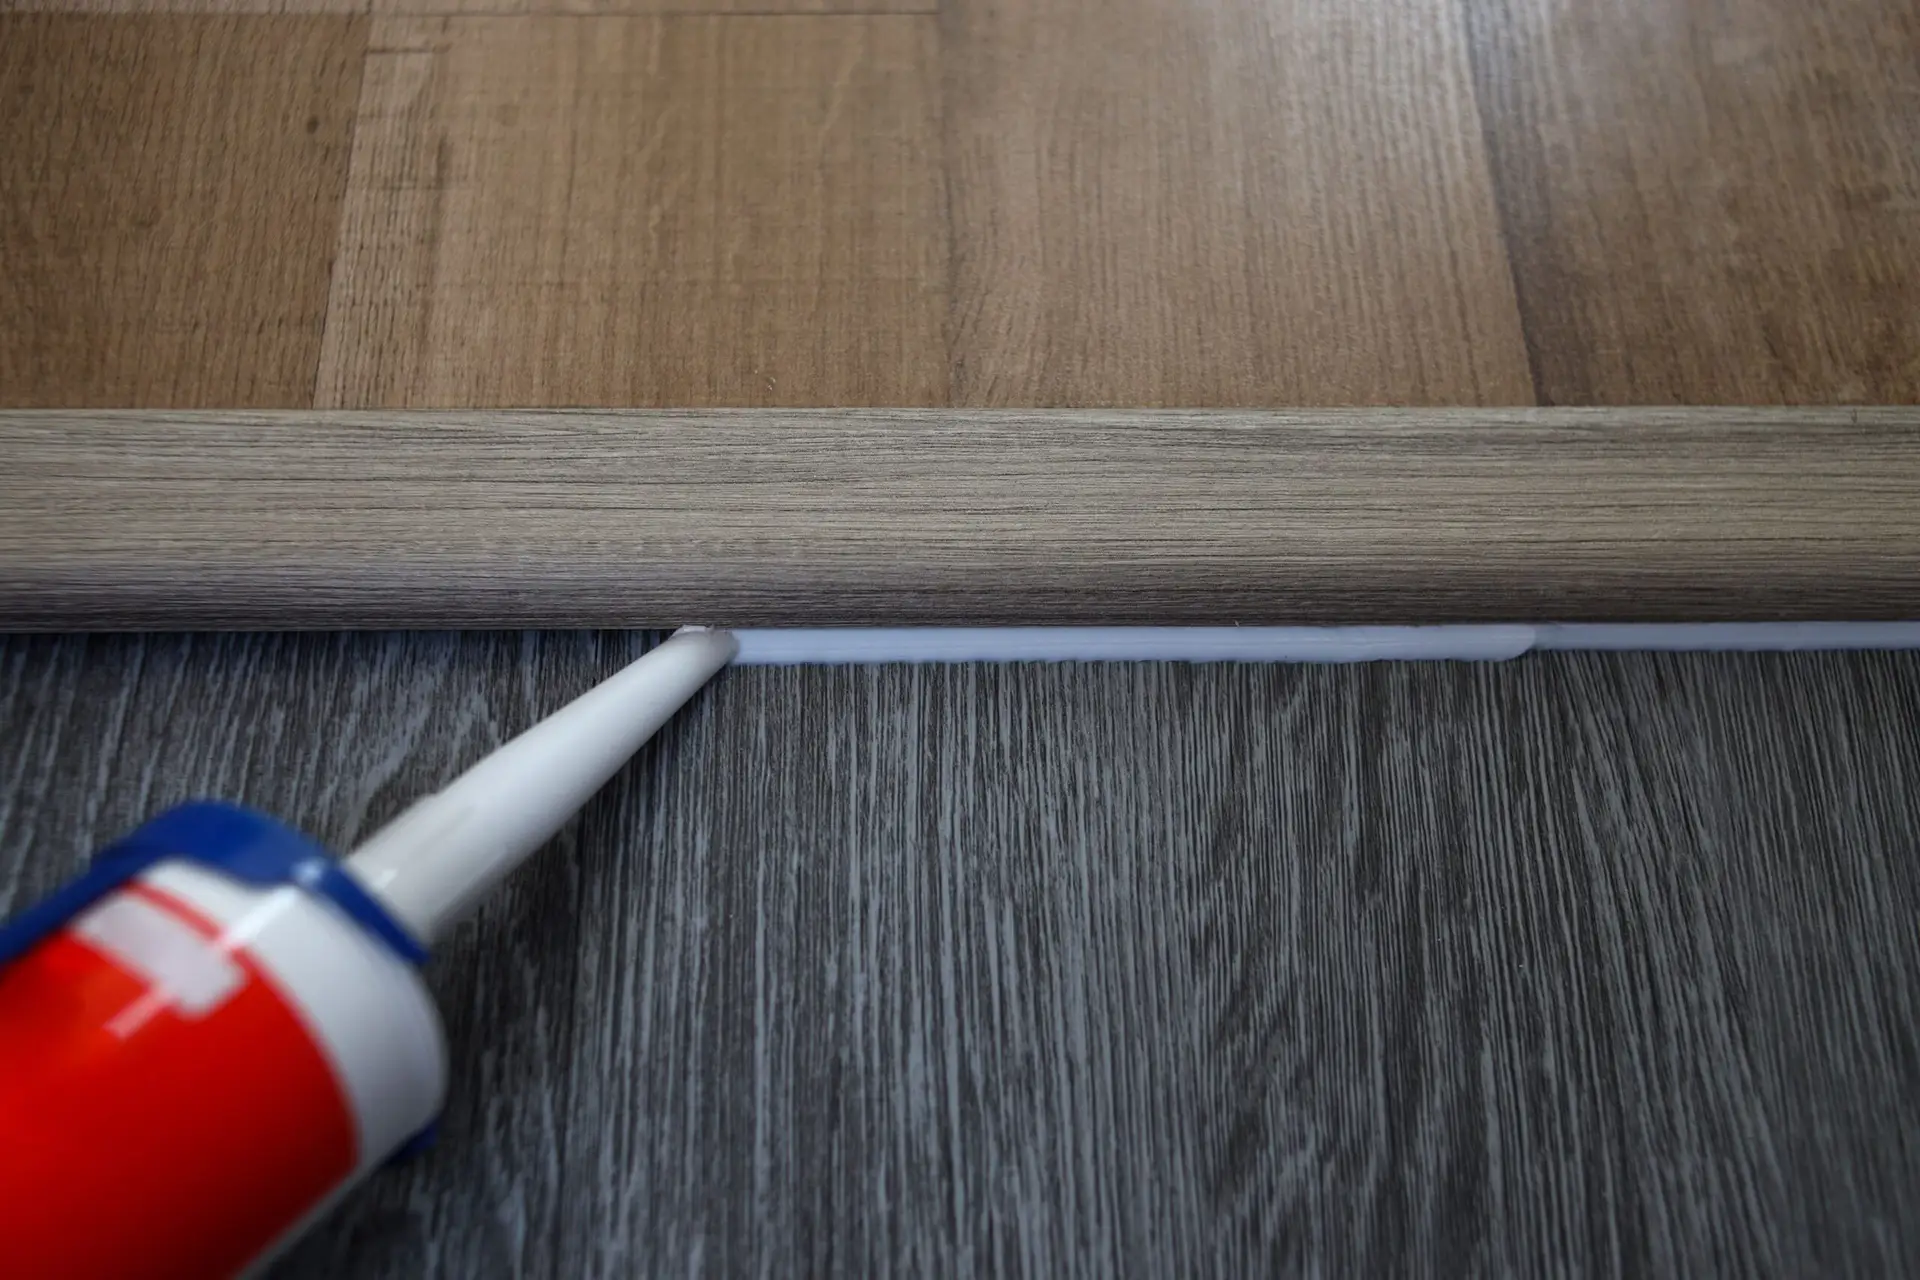
Step 3 – Seal and finish for a seamless look
Once the strip is securely in place, you can add finishing touches. If there are any minor gaps between the strip and the floor, you can use a color-matched caulk or wood filler to create a flawless look. This step also helps to prevent moisture and debris from getting underneath the strip.
Common mistakes to avoid during installation
- Incorrect Measurement: The most common mistake is a bad measurement. Always measure twice and cut once. A strip that is too short will leave an unsightly gap.
- Using the Wrong Strip: Make sure the strip is designed for your specific flooring types and heights. A reducer strip is for two floors of different heights, while a T-molding is for two floors of the same height.
- Nailing to the Floor: If using a nail-in system, be sure to nail only into the subfloor, not into the flooring itself. This can prevent the flooring from expanding and contracting properly, leading to damage.
- Forgetting to Acclimate: If your strip is made of wood or a flexible vinyl, allow it to acclimate to the room’s temperature and humidity for at least 24 hours before installation.
Installing a transition strip is a small project that makes a big impact on the overall look and durability of your floors. For a flawless result and professional-grade finishing, let the experts handle it.
Don’t let DIY frustration get the best of you. Contact Santos Brothers Flooring today for a flawless, professional installation that will perfectly complete your floors.