Polishing your hardwood floors is one of the most effective ways to restore the aesthetic appeal of your home. However, the process is as much about cleaning and preparation as it is about the application of the product itself. When done correctly, polishing fills in microscopic scratches and restores a protective sheen; when done poorly, it can trap debris and create a permanent haze.
Quick Answer: Clean Thoroughly Before Polishing
The secret to a professional-grade finish is 90% preparation and 10% application. You must ensure the floor is surgically clean before a single drop of polish touches the surface. If the floor is not perfectly clean, the polish—which is essentially a liquid film—will act as an adhesive, sealing dirt, pet hair, and grit underneath a clear layer.
Why dust and grit ruin results
Hardwood floor polish is designed to bond to the floor’s finish. If there is dust or grit present:
- Abrasive Friction: As you spread the polish, any remaining grit acts like sandpaper, creating new scratches.
- Permanent Contamination: Once the polish dries, the debris is “locked” in. The only way to remove a hair or a piece of sand trapped under dried polish is to strip the entire floor with harsh chemicals.
- Uneven Texture: Grit causes the polish to pool unevenly, leading to a bumpy or “orange peel” texture rather than a smooth, mirror-like reflection.
Step-by-Step Wood Floor Polishing
Follow this rigorous sequence to ensure a flawless, streak-free finish that lasts.
1. Dry Cleaning and Vacuuming
Start by removing all furniture and rugs from the area. Use a high-quality vacuum set to the “hard floor” setting (where the beater bar is turned off to prevent scratching).
- Focus on Edges: Pay special attention to baseboards and corners where “dust bunnies” congregate.
- The Microfiber Sweep: Follow the vacuuming with a dry microfiber dust mop to pick up the fine particulate matter that vacuums often miss.
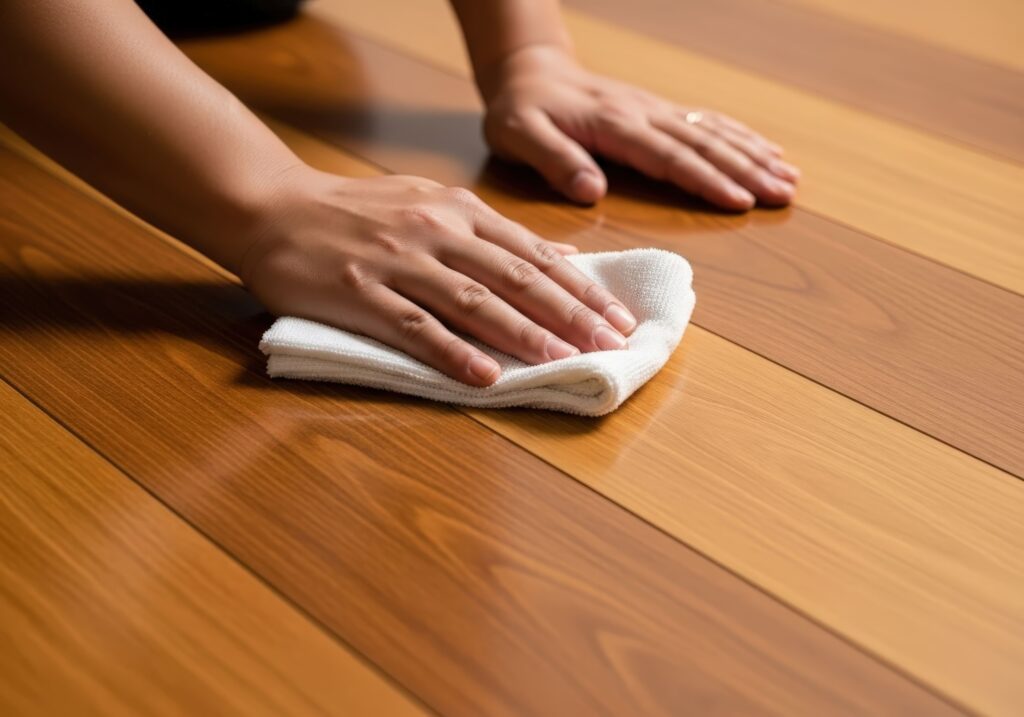
2. Damp Mopping
Even a floor that looks clean may have oily residues or spills.
- Use a Dedicated Cleaner: Use a pH-neutral wood floor cleaner. Avoid vinegar and water solutions, as the acidity can dull the finish over time.
- The Two-Bucket Method: If the floor is particularly dirty, use one bucket for your cleaning solution and another for rinsing your mop. This prevents you from spreading dirty water back onto the wood.
- Complete Dryness: Wait at least 30 to 60 minutes after mopping. The floor must be bone-dry before polishing, as moisture can interfere with the polish’s ability to bond.
3. Applying Polish Evenly
Work in small sections (roughly 3×3 feet) starting from the corner farthest from the exit.
- The “S” Pattern: Pour a small amount of wood floor polish directly onto the floor in an “S” shape.
- Smooth Strokes: Use a clean microfiber applicator pad to spread the polish. Use long, even strokes following the direction of the wood grain. Avoid “scrubbing” the polish; let the applicator glide over the surface.
- Overlap: Ensure each pass overlaps the previous one slightly to prevent “holidays” (unpolished gaps).
4. Buffing and Drying
- Airflow: Ensure the room is well-ventilated but keep windows closed to prevent outside dust or pollen from landing on the wet surface.
- Curing Time: Most polishes are “tack-free” within an hour, but you should wait at least 24 hours before moving heavy furniture back or allowing pets with claws onto the surface.
- Buffing: While most modern liquid polishes are self-leveling and do not require buffing, you can use a high-speed orbital buffer with a white polishing pad once the floor is completely dry if you desire a higher “piano” gloss.
Tools and Products to Use
Investing in the right equipment is the difference between a streaky DIY job and a professional result.
Microfiber Mops
Forget the traditional cotton string mop or sponge mop. Microfiber is mandatory. – Loop-End Microfiber: Best for the initial damp cleaning.
- Flat-Pad Microfiber: Best for applying the polish because it provides a flat, consistent pressure that prevents puddling.
Floor Buffers (When Needed)
For residential maintenance, a manual application is usually sufficient. However, if you are dealing with a very large open-plan space or a floor with significant etching, a low-speed floor buffer (175 RPM) with a tan or white polishing pad can help achieve a more uniform sheen. Note: Only use a buffer if you are experienced, as “operator swirl marks” can be difficult to correct.
FAQs
How long does wood floor polish last?
In a typical American home, a quality polish application lasts 2 to 4 months in high-traffic areas (kitchens, hallways) and up to 6 months in low-traffic areas (bedrooms). Factors like indoor climate, the presence of pets, and “shoes-on” vs. “shoes-off” household rules will significantly impact longevity.
Can I polish engineered wood floors?
Yes, but with caution. Engineered wood has a real wood veneer on top, usually protected by a factory-applied UV-cured urethane. Ensure the polish is labeled as “safe for all polyurethane finishes.” Avoid “restorer” products that contain wax, as they can interfere with future professional top-coating.
Why does my floor look cloudy after polishing?
Cloudiness usually happens for three reasons:
- Residual Cleaner: If the cleaning solution wasn’t fully rinsed or dried, it reacts with the polish.
- High Humidity: If the air is too damp, the polish dries too slowly, causing the acrylic molecules to clump.
- Application over Wax: If the floor was previously treated with a wax-based product, the new acrylic polish will “smear” rather than bond, creating a milky haze.
Restoring the beauty of your hardwood floors shouldn’t be a guessing game. While DIY polishing can provide a temporary lift, there is no substitute for the precision and durability of professional floor care. At Santos Brothers Flooring, we bring years of expertise to every home, ensuring your floors are treated with the highest-grade products and techniques available in the industry. Whether you need a professional deep clean, a fresh maintenance coat, or a full restorative sanding, our team is here to deliver flawless results. Contact Santos Brothers Flooring today for a professional consultation and let us make your floors the centerpiece of your home once again!